Ingredients
Equipment
Method
Instructions
- Pat the chicken thighs completely dry using paper towels. This step is crucial for achieving a nice sear. In a small bowl, combine the kosher salt, black pepper, and garlic powder. Sprinkle the seasoning mixture evenly over both sides of the chicken thighs.
- Heat the 1 tablespoon of olive oil in a large skillet or frying pan over medium-high heat. Once the oil is shimmering, carefully place the seasoned chicken thighs into the hot pan. Ensure the pieces are not overcrowded; work in batches if necessary. Sear the chicken for 3 to 4 minutes per side until deeply golden brown. The chicken will not be cooked through at this stage. Remove the seared chicken from the pan and set it aside on a plate.
- While the pan is still warm (reduce heat to medium-low if necessary), prepare the sauce. In a medium bowl, whisk together the soy sauce, honey, water or broth, minced garlic, grated ginger (if using), apple cider vinegar, and sesame oil. In a separate very small bowl, mix the cornstarch with 1 tablespoon of cold water to create a smooth slurry. Set the slurry aside for later.
- Pour the prepared honey garlic sauce mixture into the large skillet. Bring the sauce to a gentle simmer, scraping up any browned bits from the bottom of the pan—these bits add tremendous flavor to the sauce. Allow the sauce to simmer for 2 to 3 minutes, stirring occasionally, until it begins to slightly thicken and reduce.
- Return the seared chicken thighs to the skillet, placing them directly into the simmering sauce. Reduce the heat to low, cover the pan with a lid, and let the chicken simmer gently in the sauce for 8 to 10 minutes, or until the internal temperature of the chicken reaches 165°F (74°C) and the thighs are fully cooked and tender. Flip the chicken pieces halfway through the simmering time to ensure they are evenly coated.
- Once the chicken is fully cooked, remove the thighs from the skillet and place them back onto the clean plate. Increase the heat under the skillet to medium and bring the remaining sauce back to a rapid simmer. Whisk in the cornstarch slurry quickly and continuously. The sauce should immediately thicken into a glossy, sticky glaze within 30 to 60 seconds. Remove the skillet from the heat immediately after thickening.
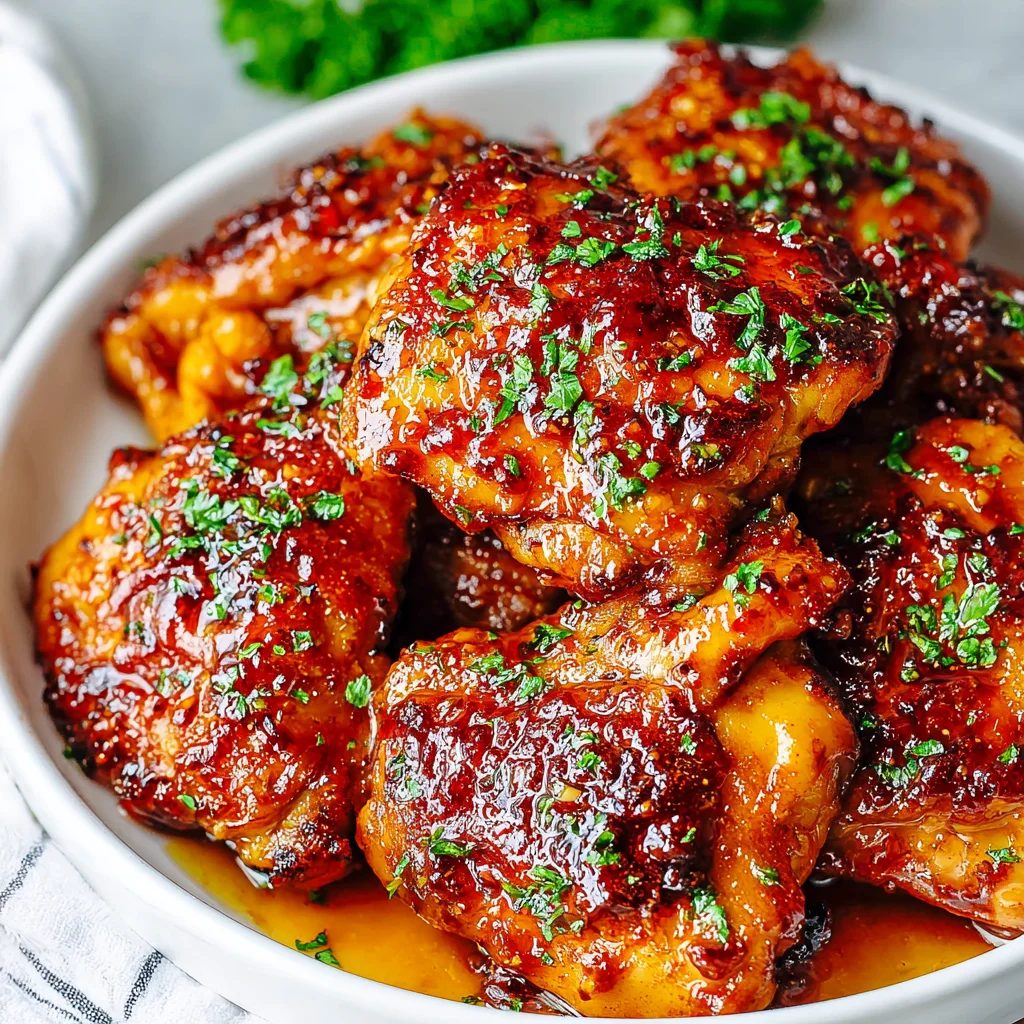
- Return the chicken thighs to the skillet and toss them gently in the sticky honey garlic glaze until they are completely coated. Serve the honey garlic chicken thighs hot, drizzled with any excess sauce from the pan. Garnish with sesame seeds and fresh green onions or parsley before serving.
Notes
Serve these sticky honey garlic chicken thighs over a bed of steamed white rice or brown rice, and alongside a simple steamed vegetable like broccoli or green beans to complete the meal. For a spicier kick, add a dash of sriracha or red pepper flakes to the sauce mixture in Step 3.